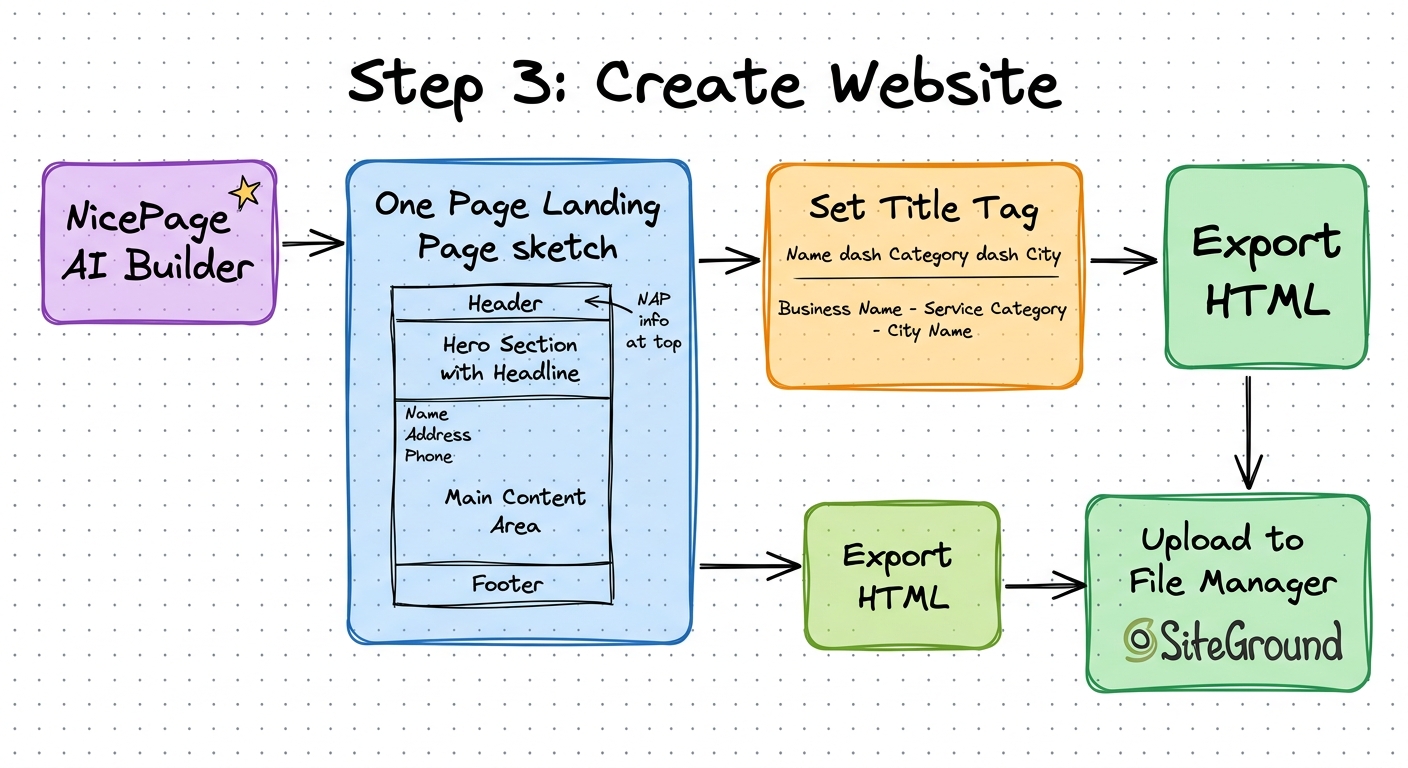
Create Website
This is NOT about aesthetics — it just needs to be live, relevant to your category, and display your NAP
Open NicePage and create a new site
Click New Site — AI Power Builder — enter your business category (e.g., "Roofing Company")
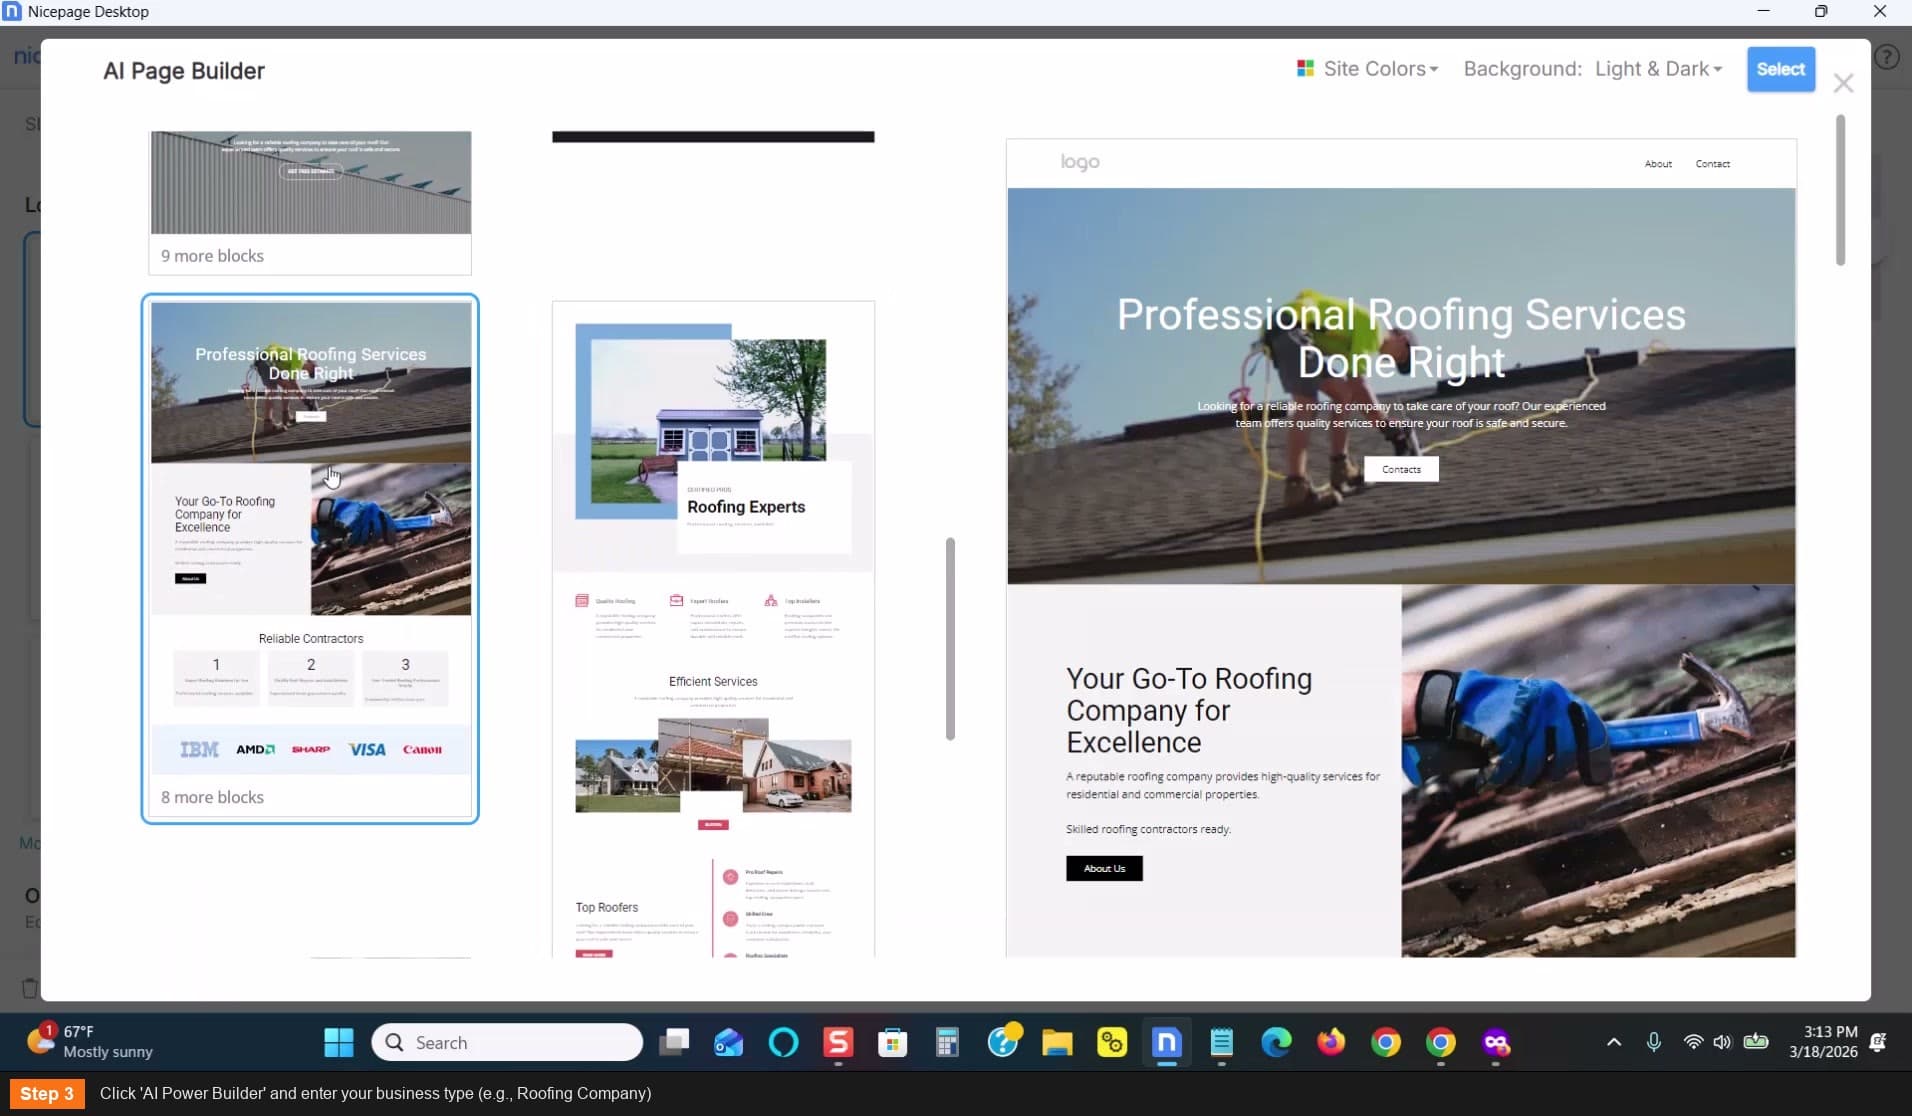
- Let the AI generate template options
- Select any template — aesthetics don't matter here
- This is just a placeholder site for verification
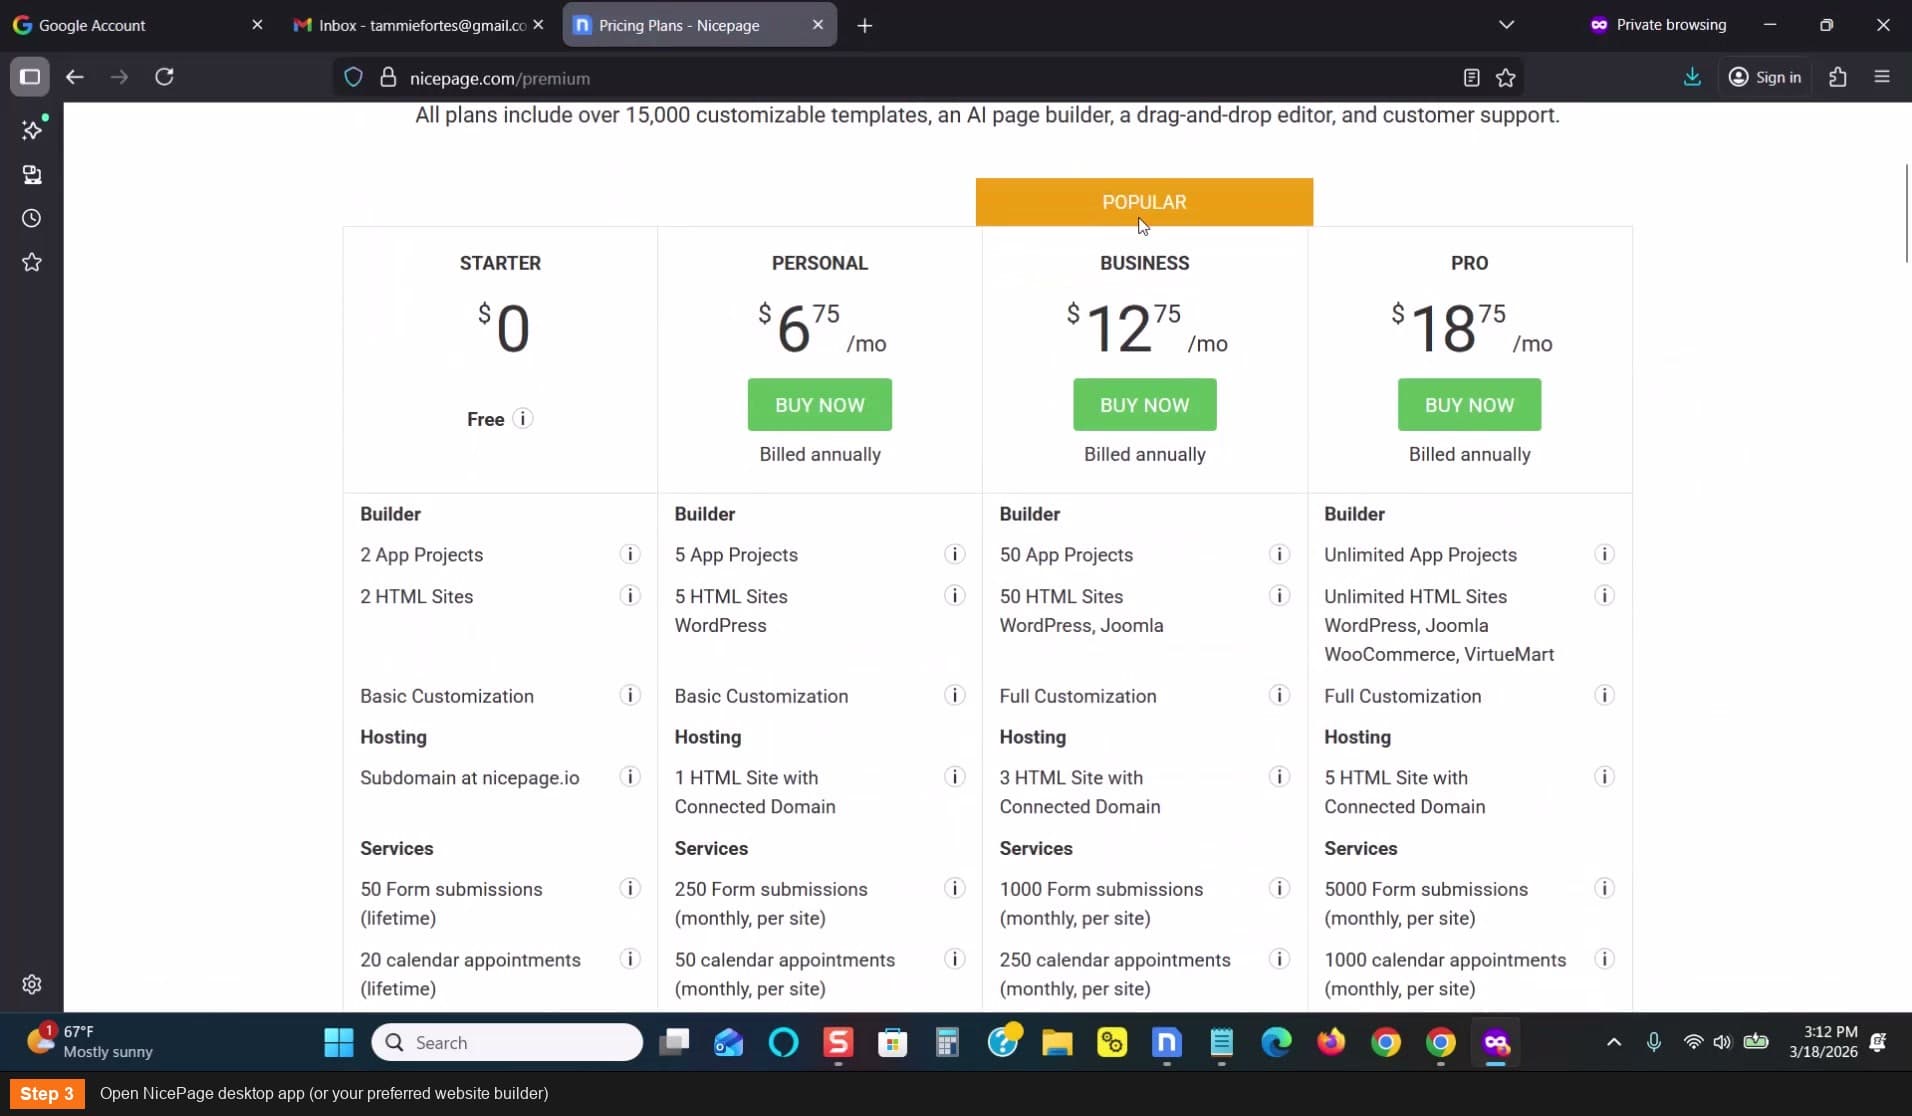
Open NicePage desktop app
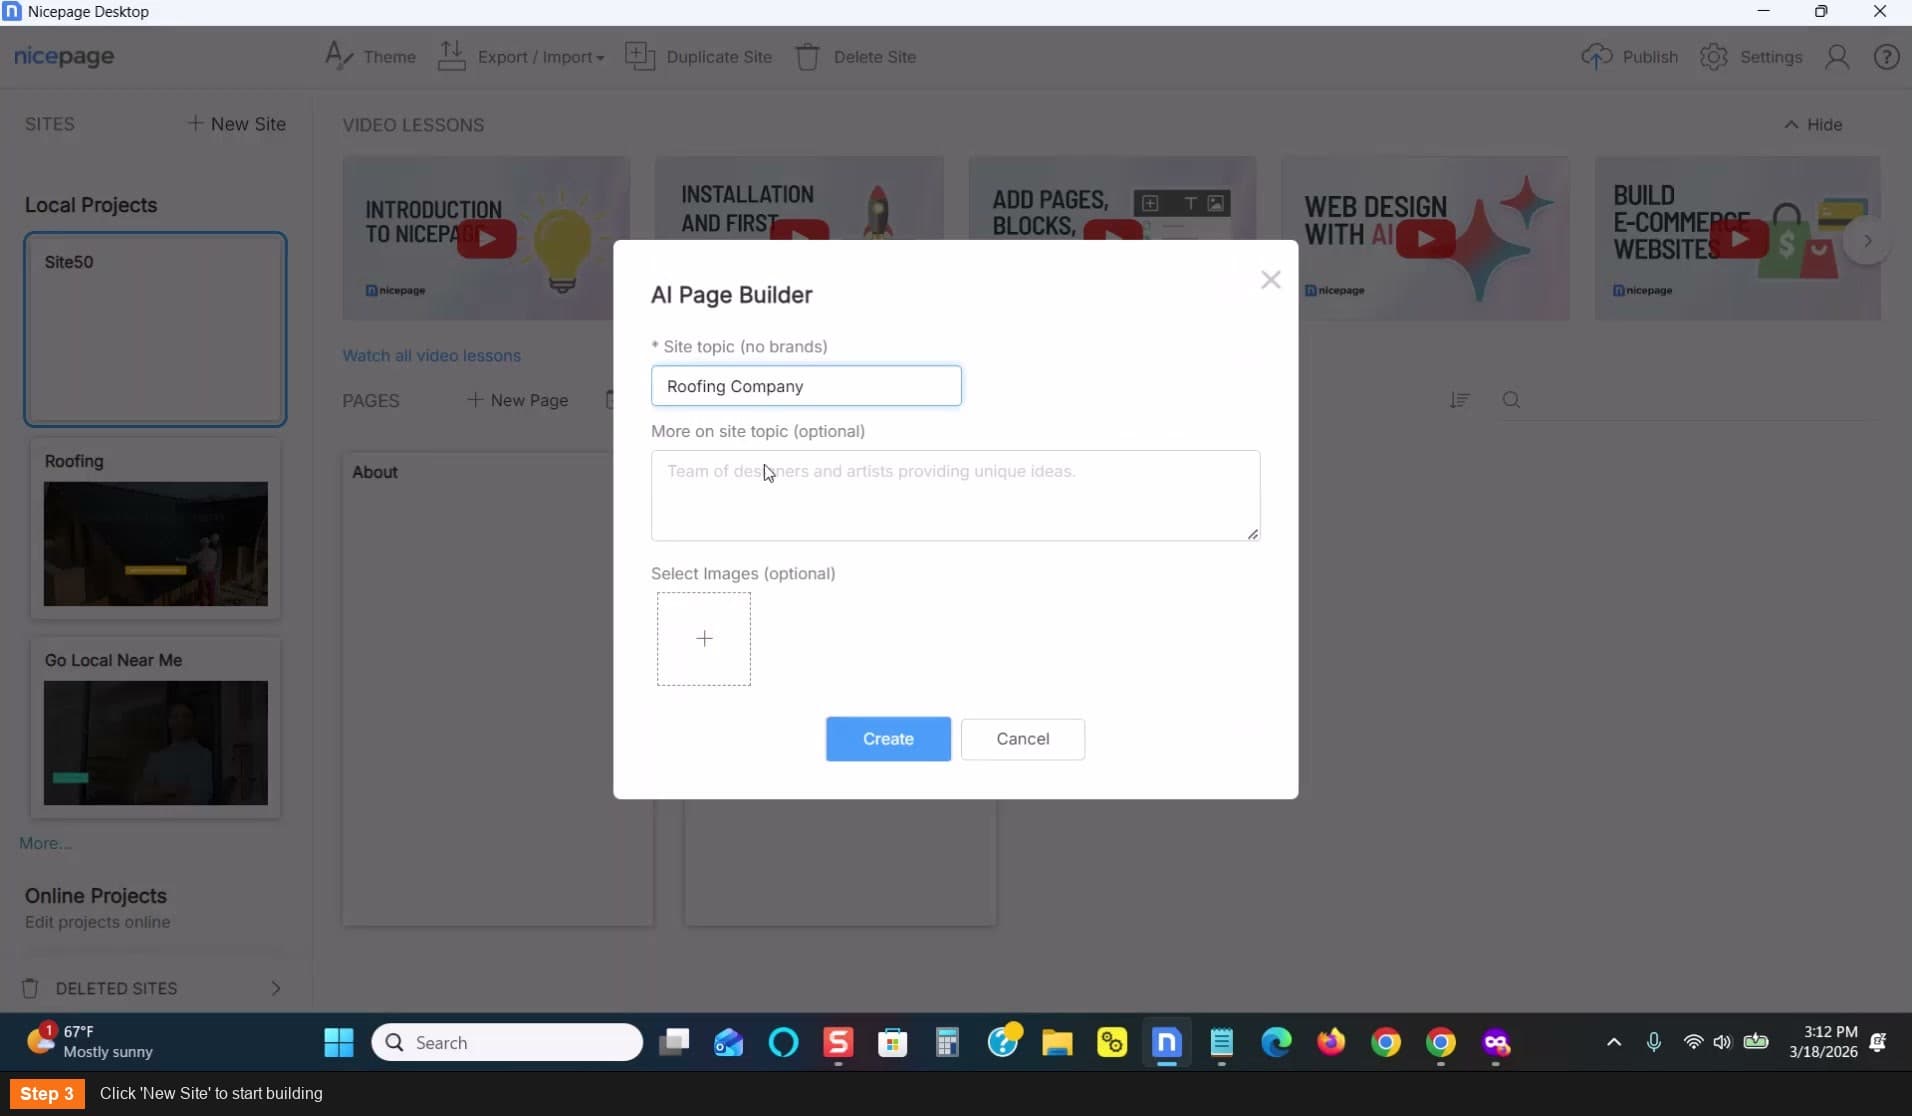
Click New Site to start building
Click AI Power Builder and enter your business type
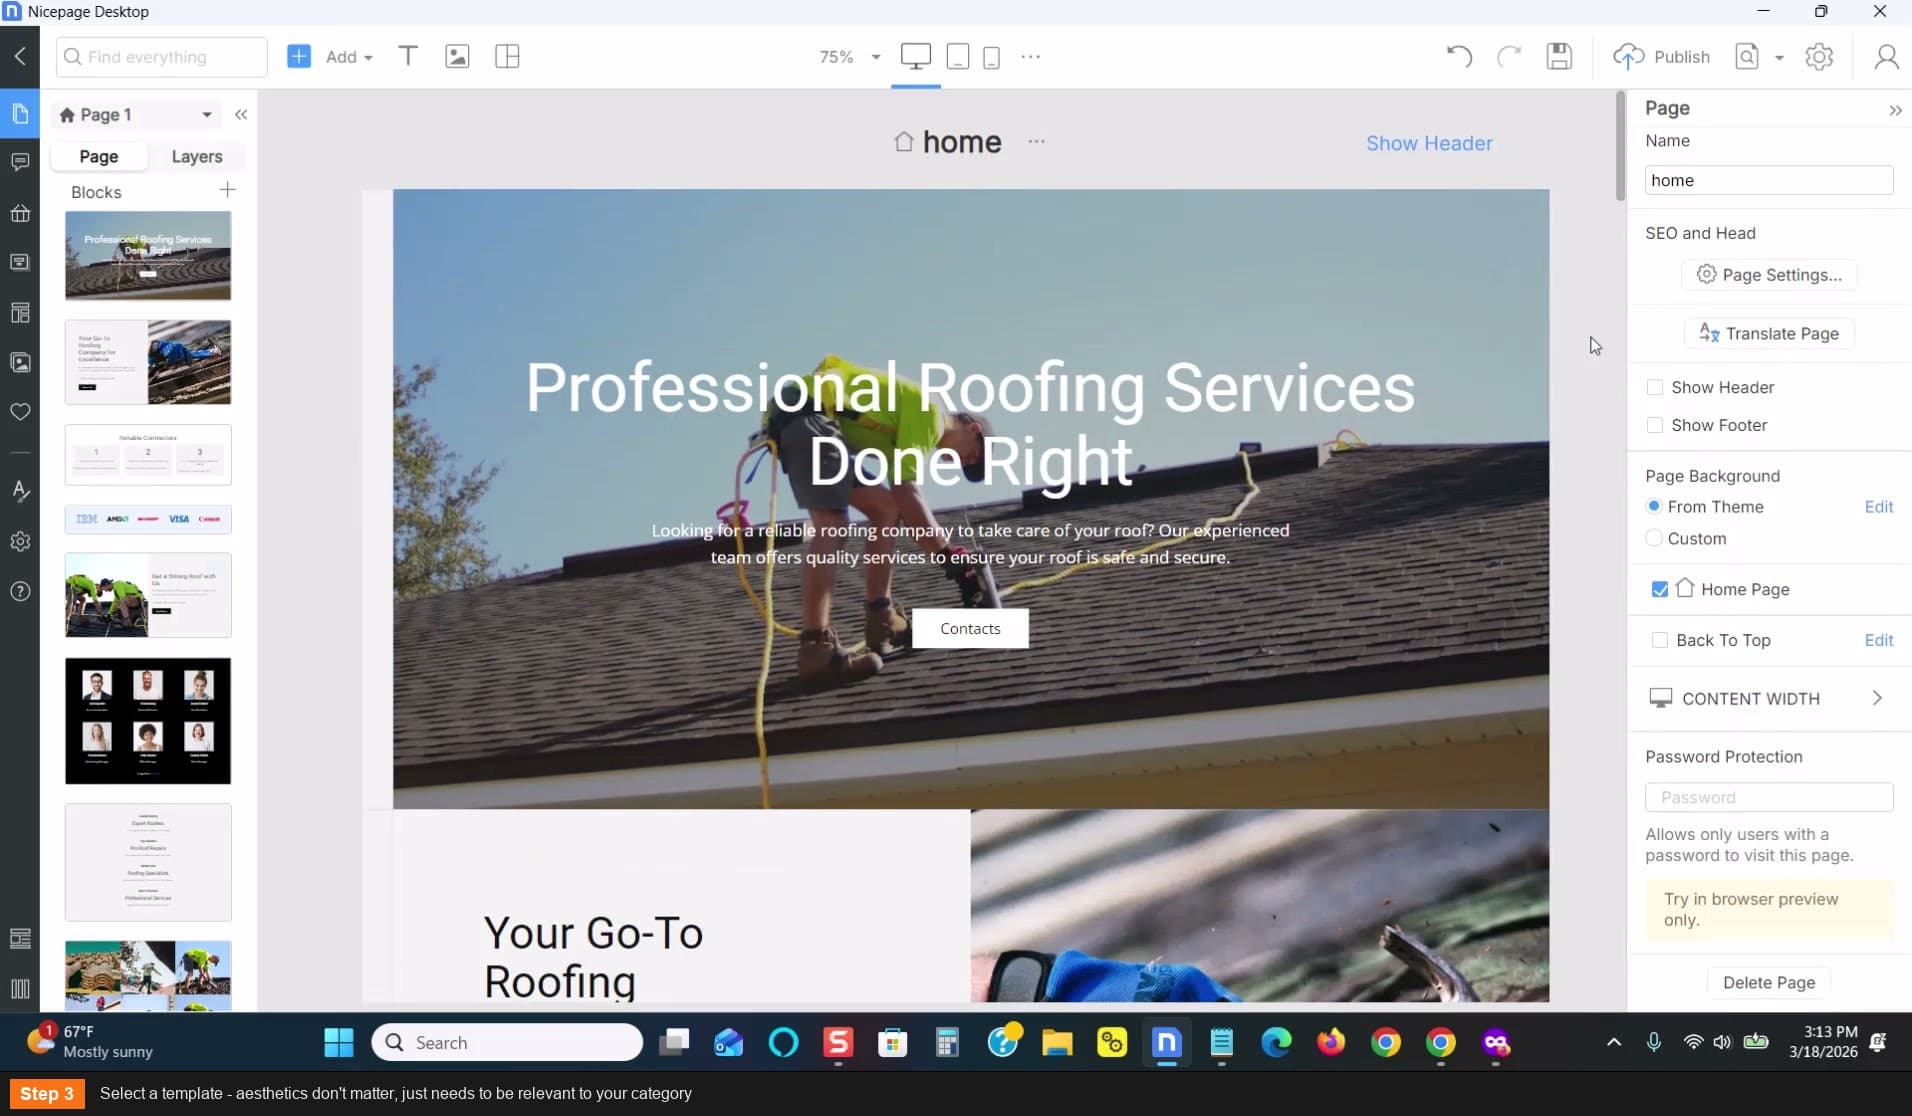
Select a template - aesthetics don't matter
Set up the page
- Name the page "Home"
- Hide the header (not needed)
- Hide the footer (not needed)
- Leave any category-relevant content (roofing images, Q&A, etc.)
- Remove anything irrelevant (company logos, Lorem Ipsum reviews)
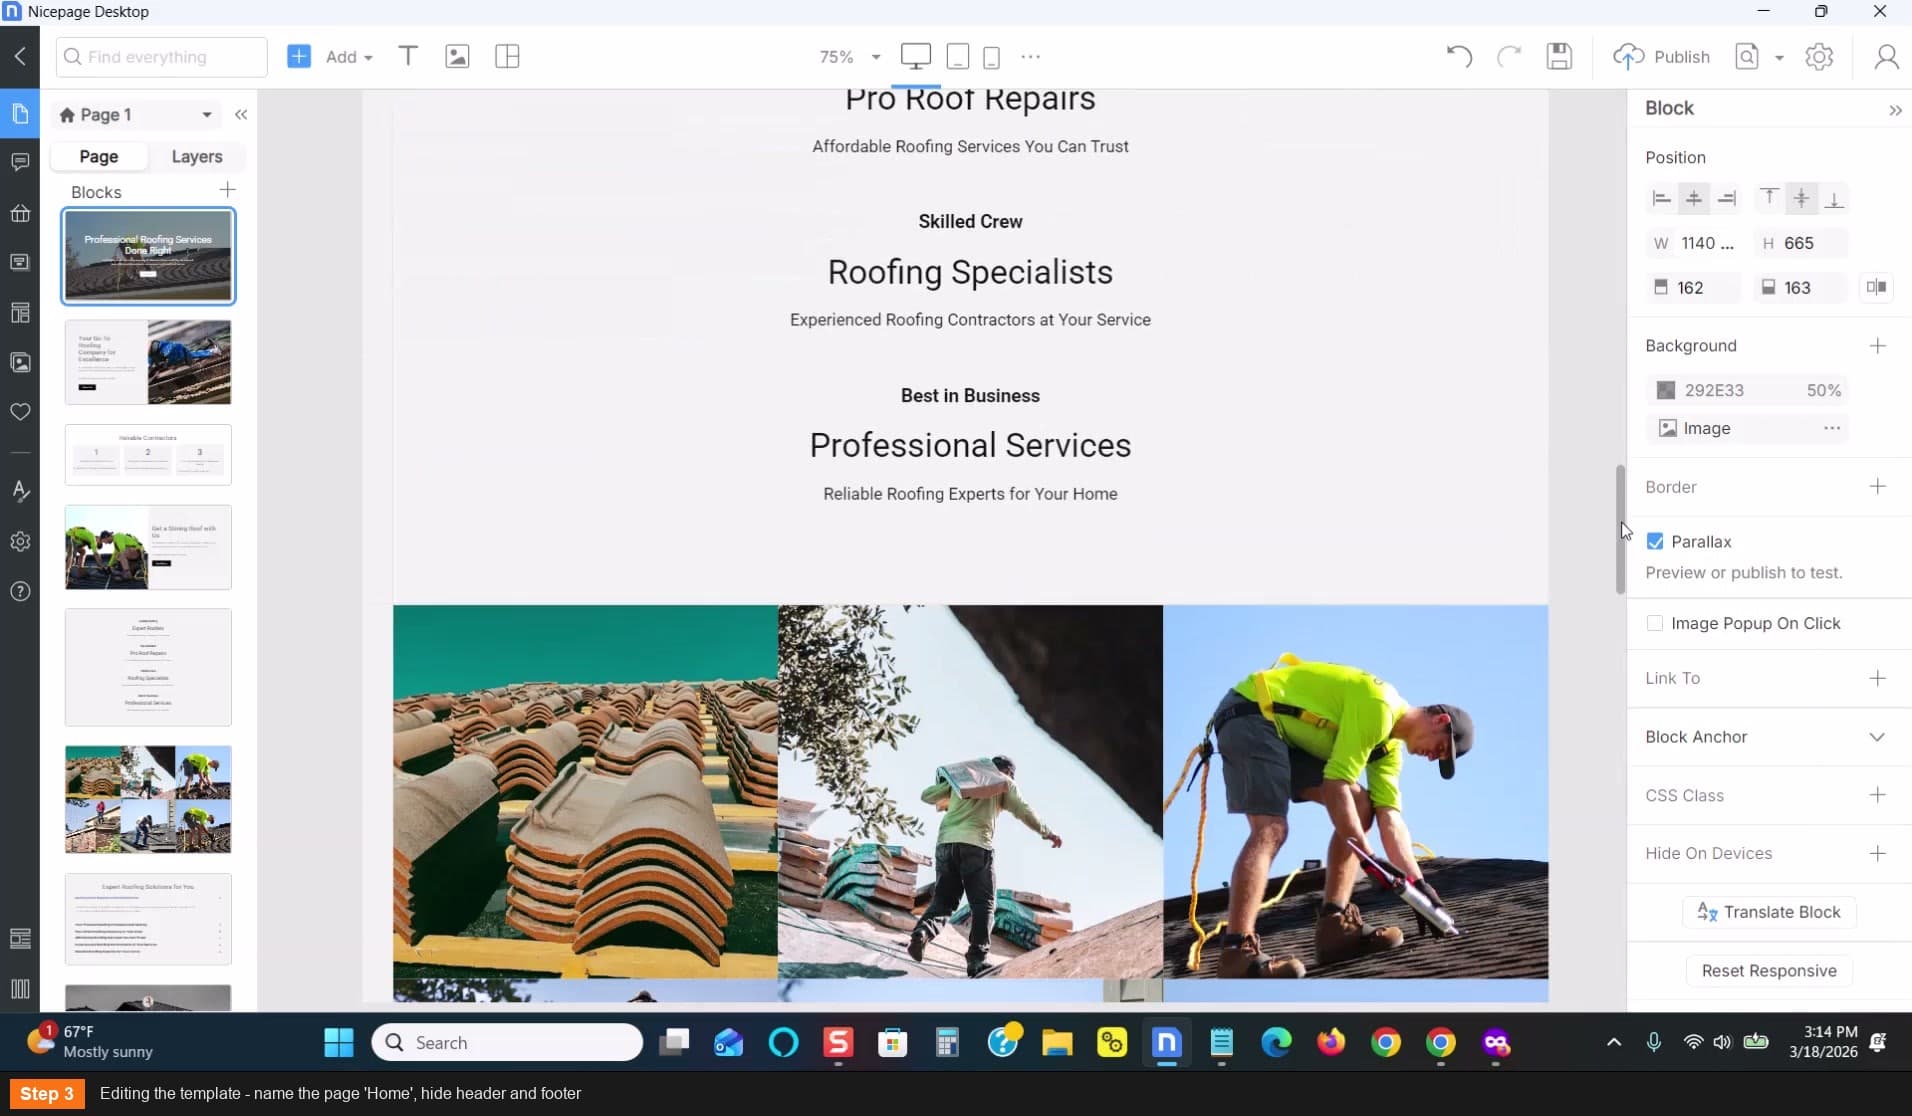
Name the page Home, hide header and footer
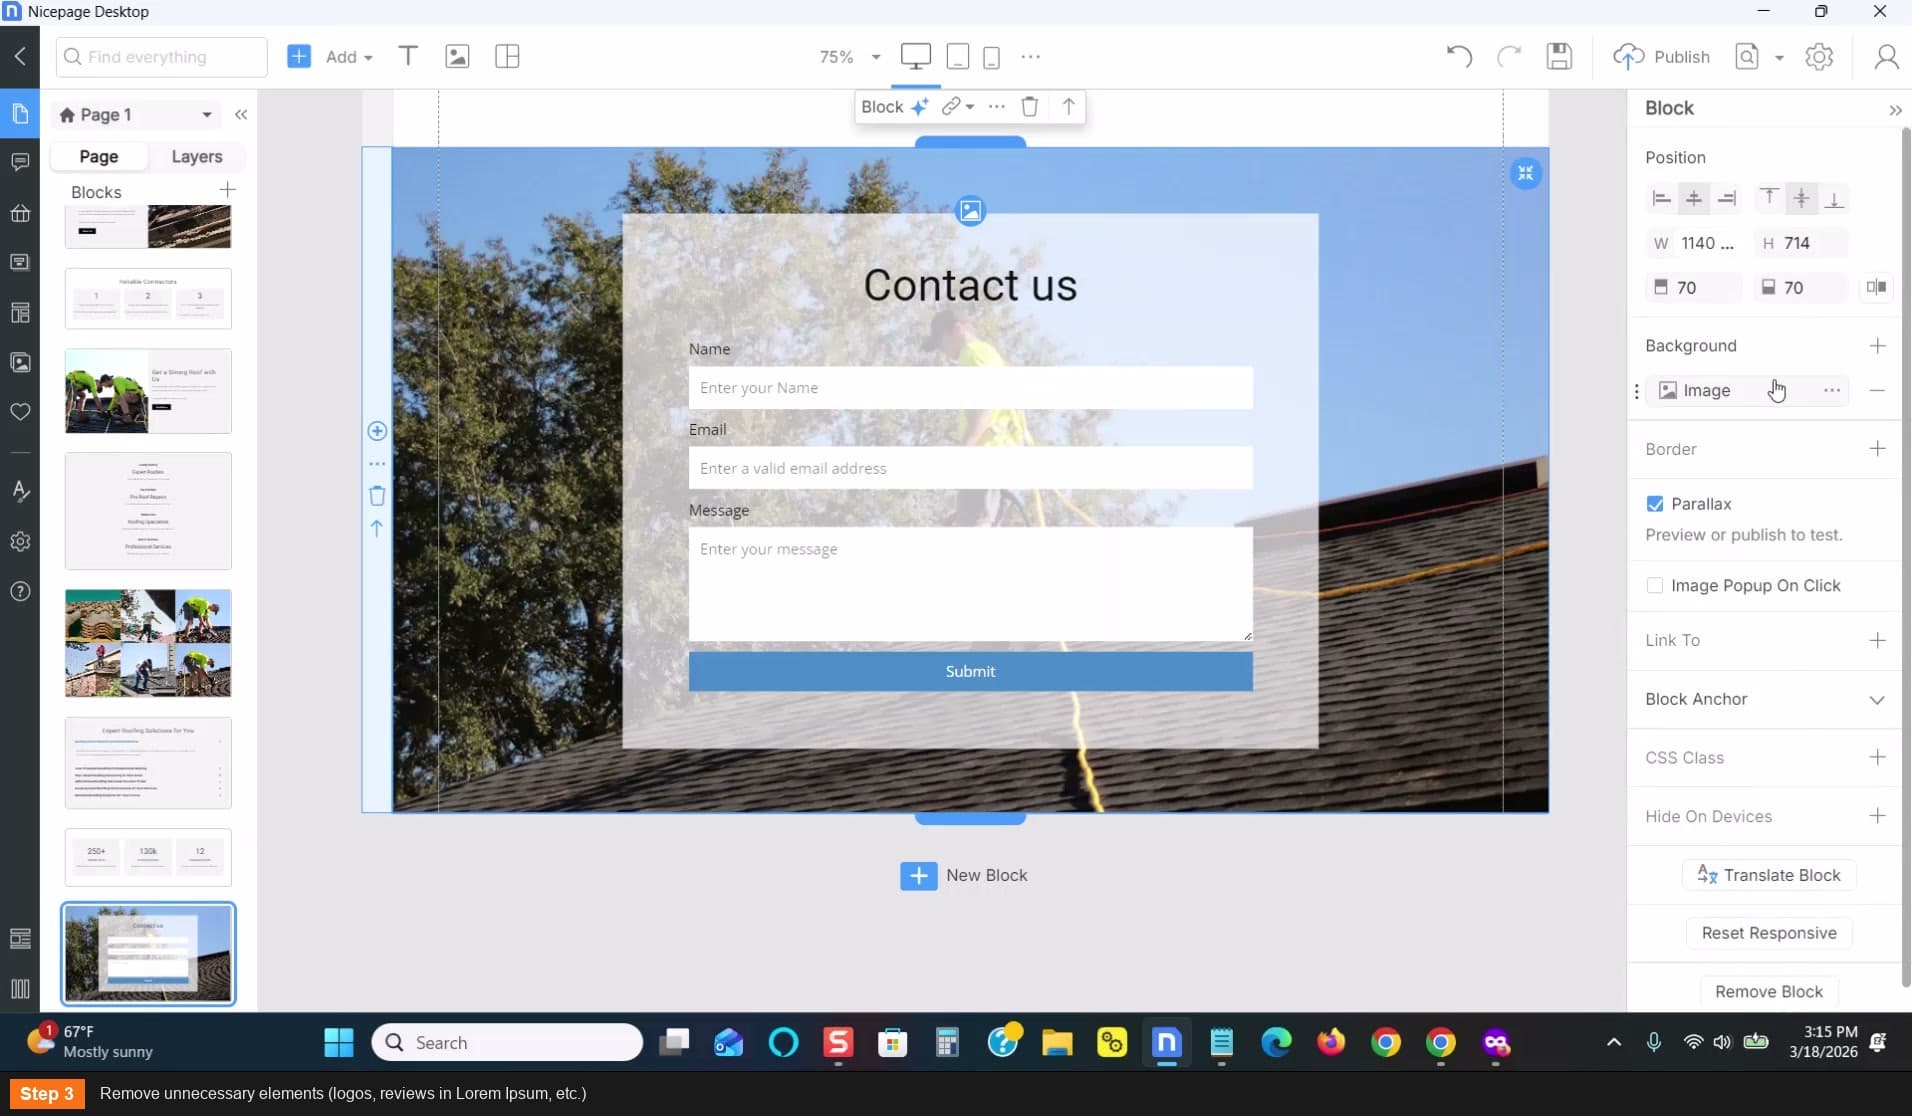
Remove unnecessary elements
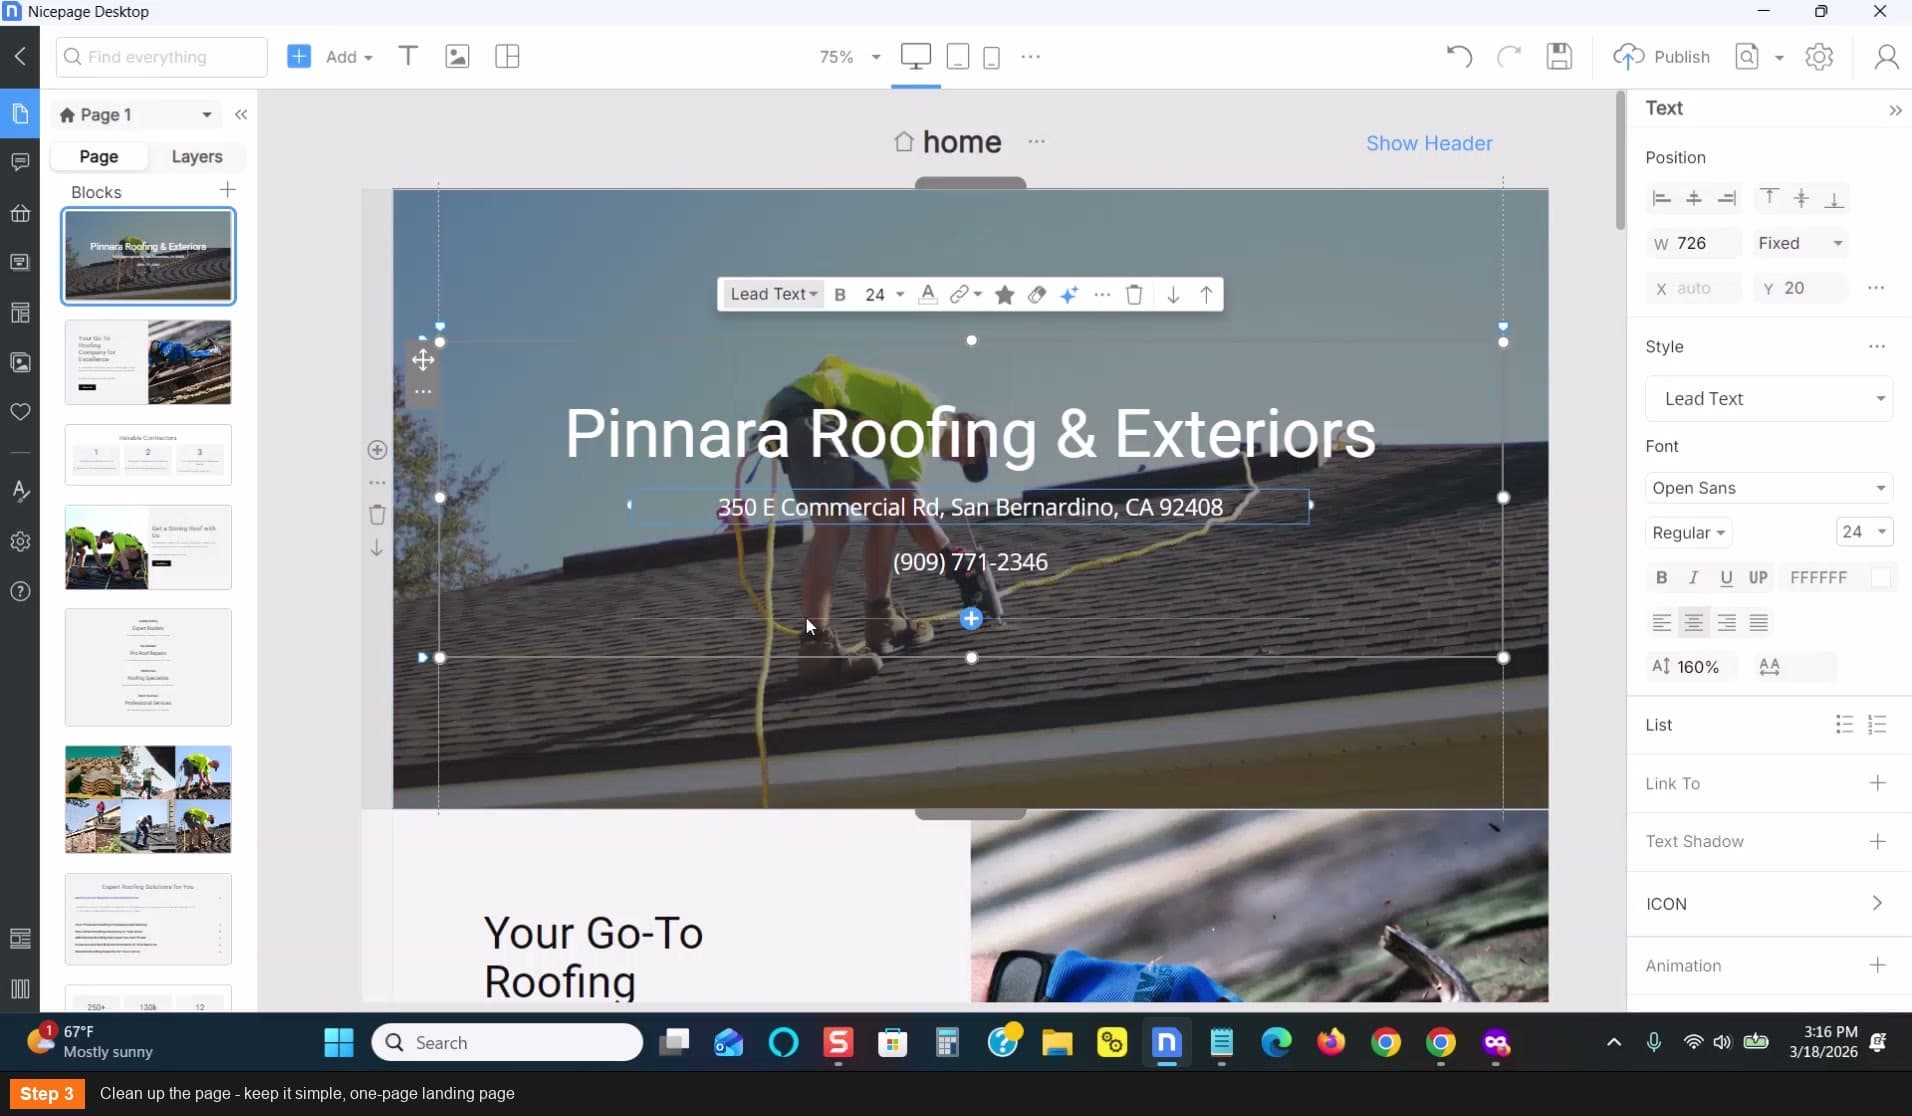
Clean up - keep it simple
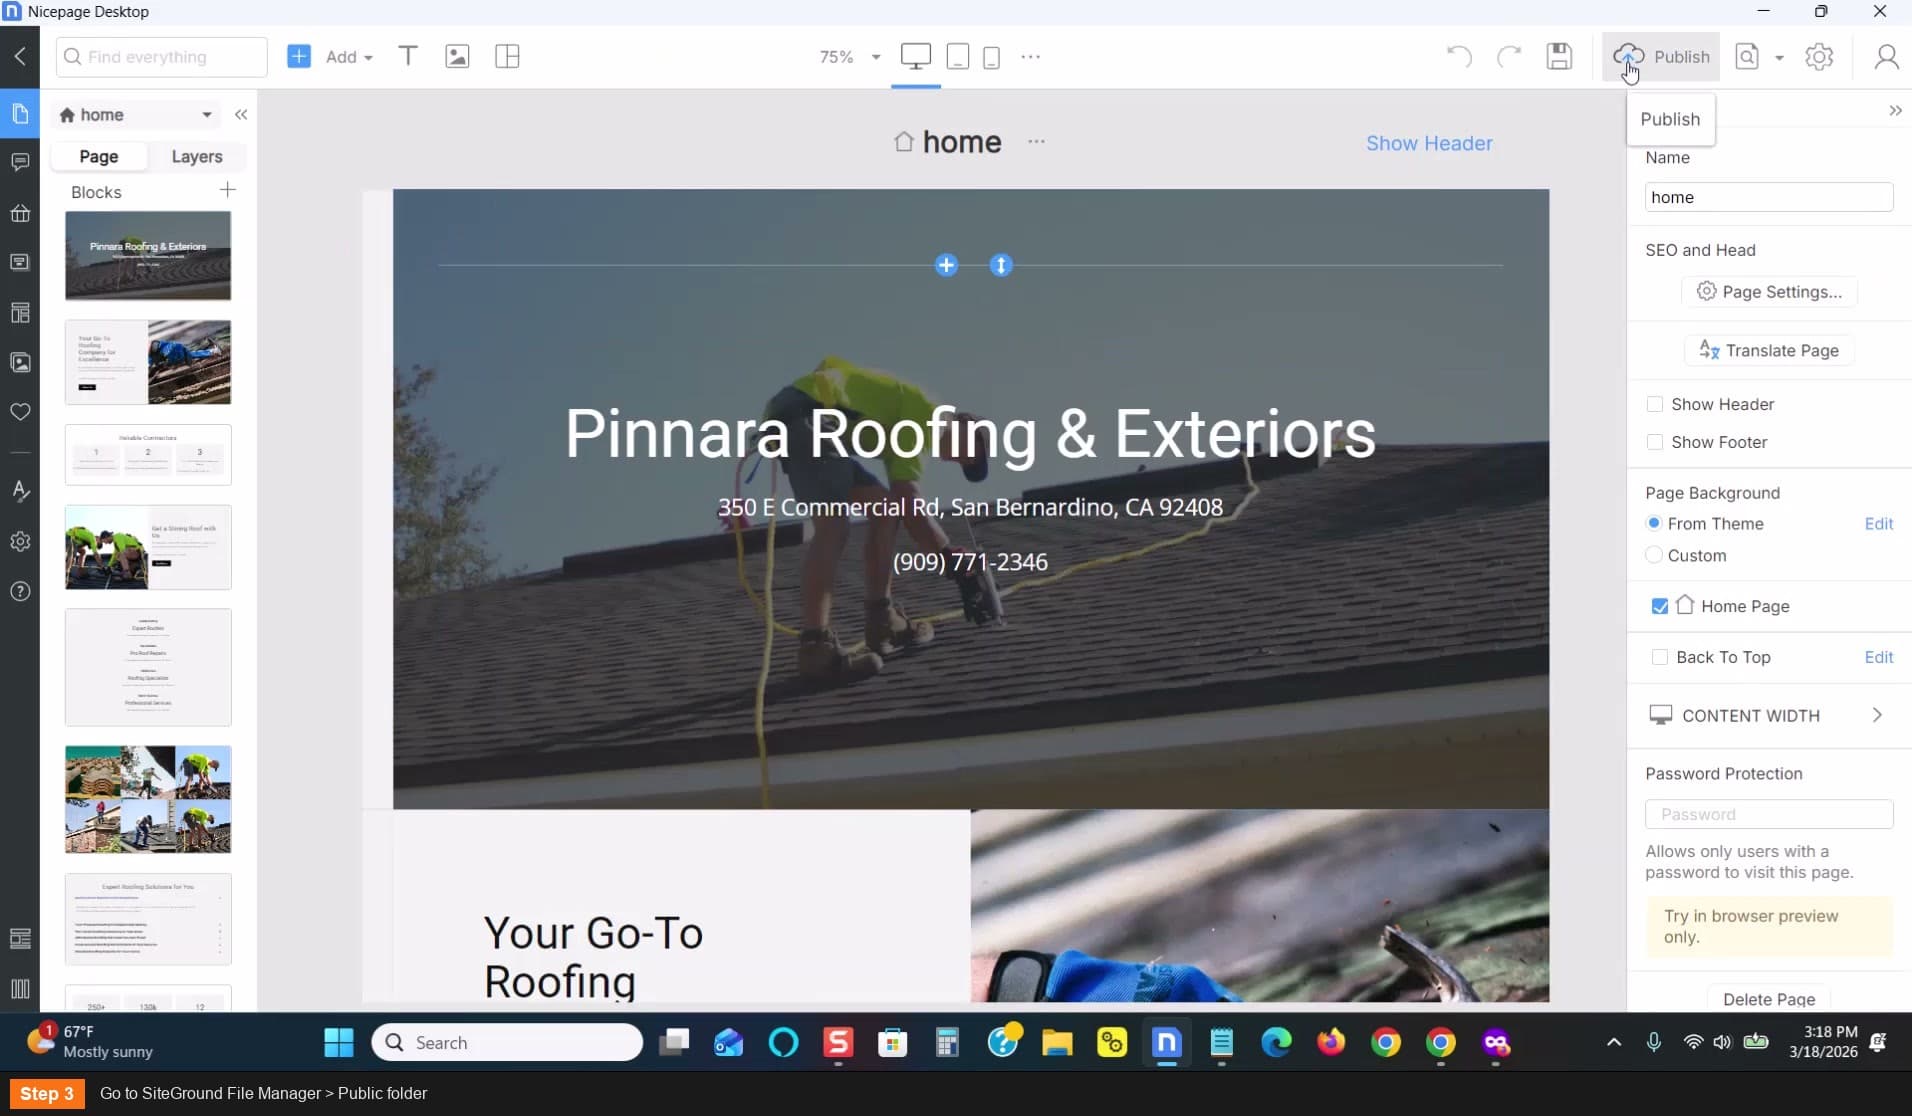
Add your NAP at the top of the page
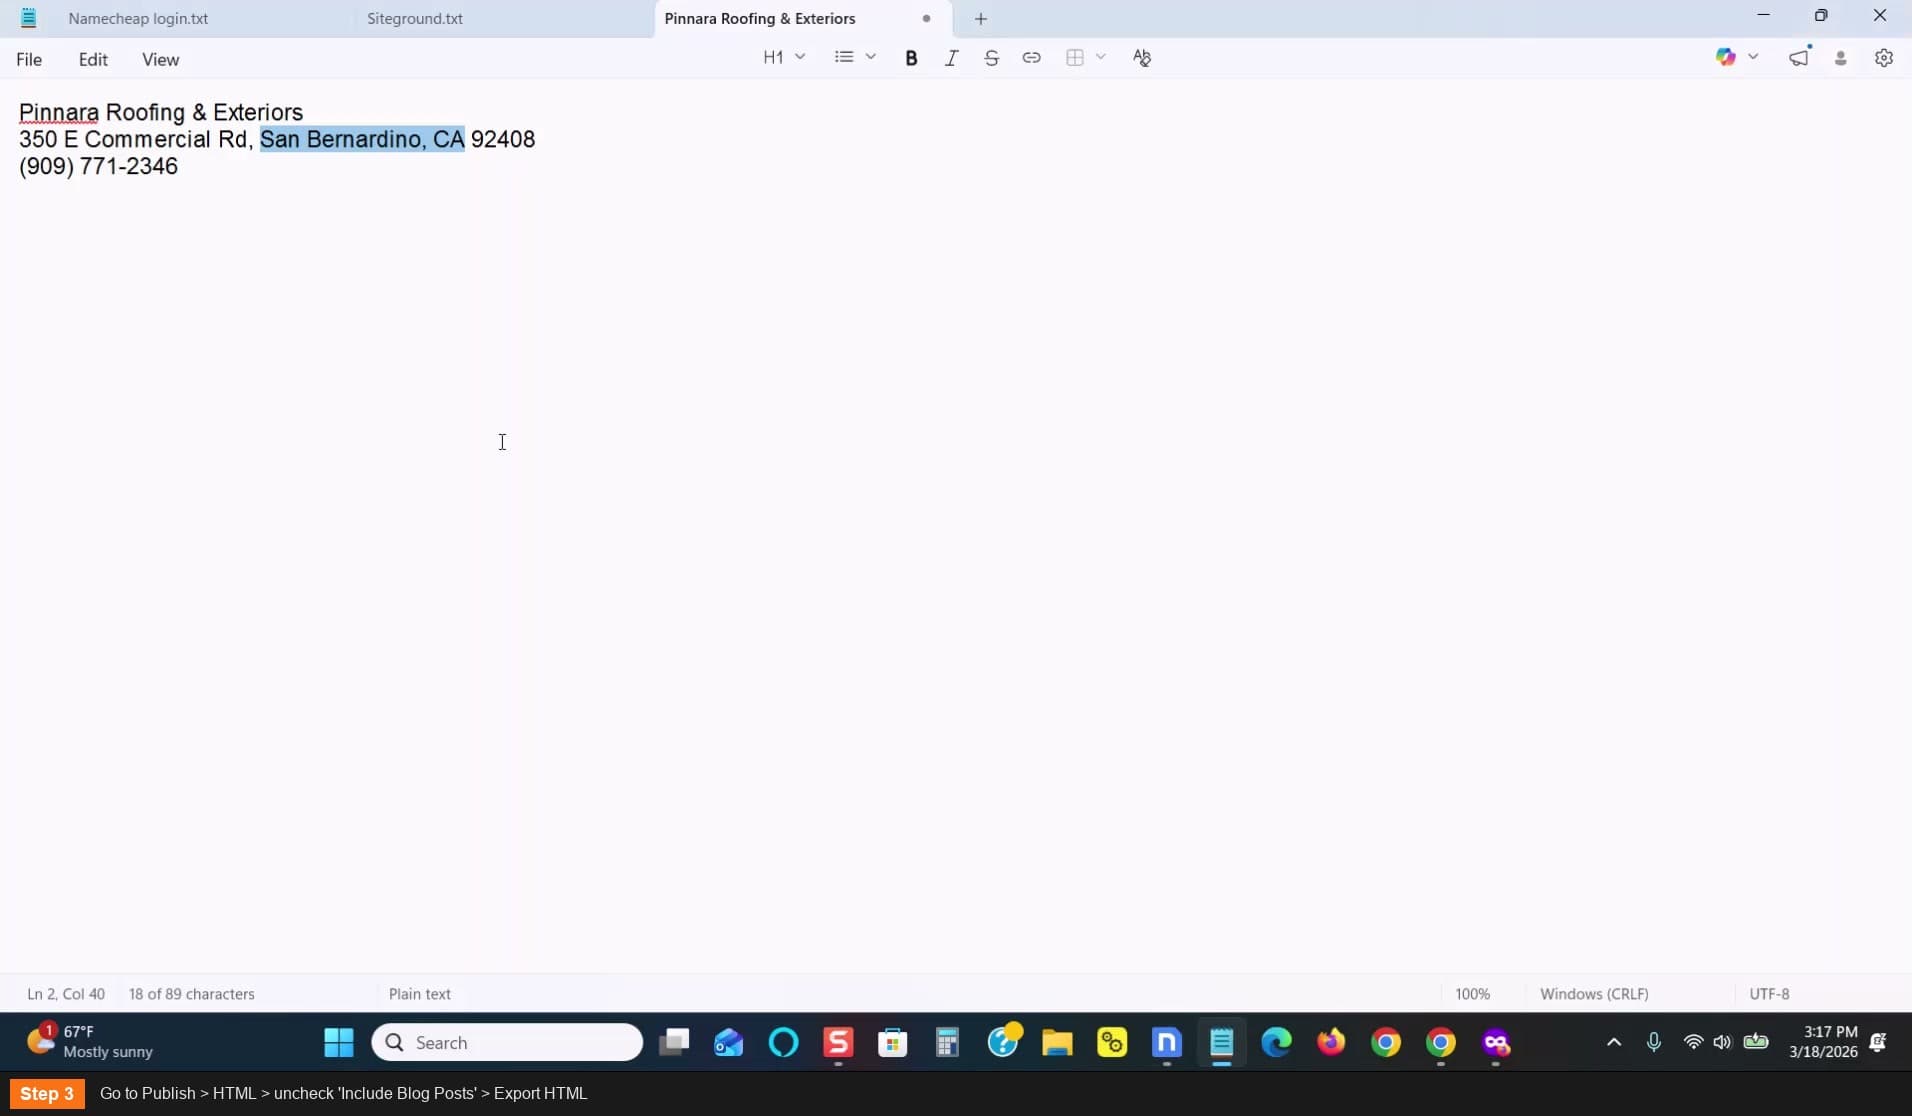
Put your Name, Address, and Phone Number prominently at the top
- Make the text visible and easy to read
- Once you make a template, you can reuse it for other listings — just change the NAP
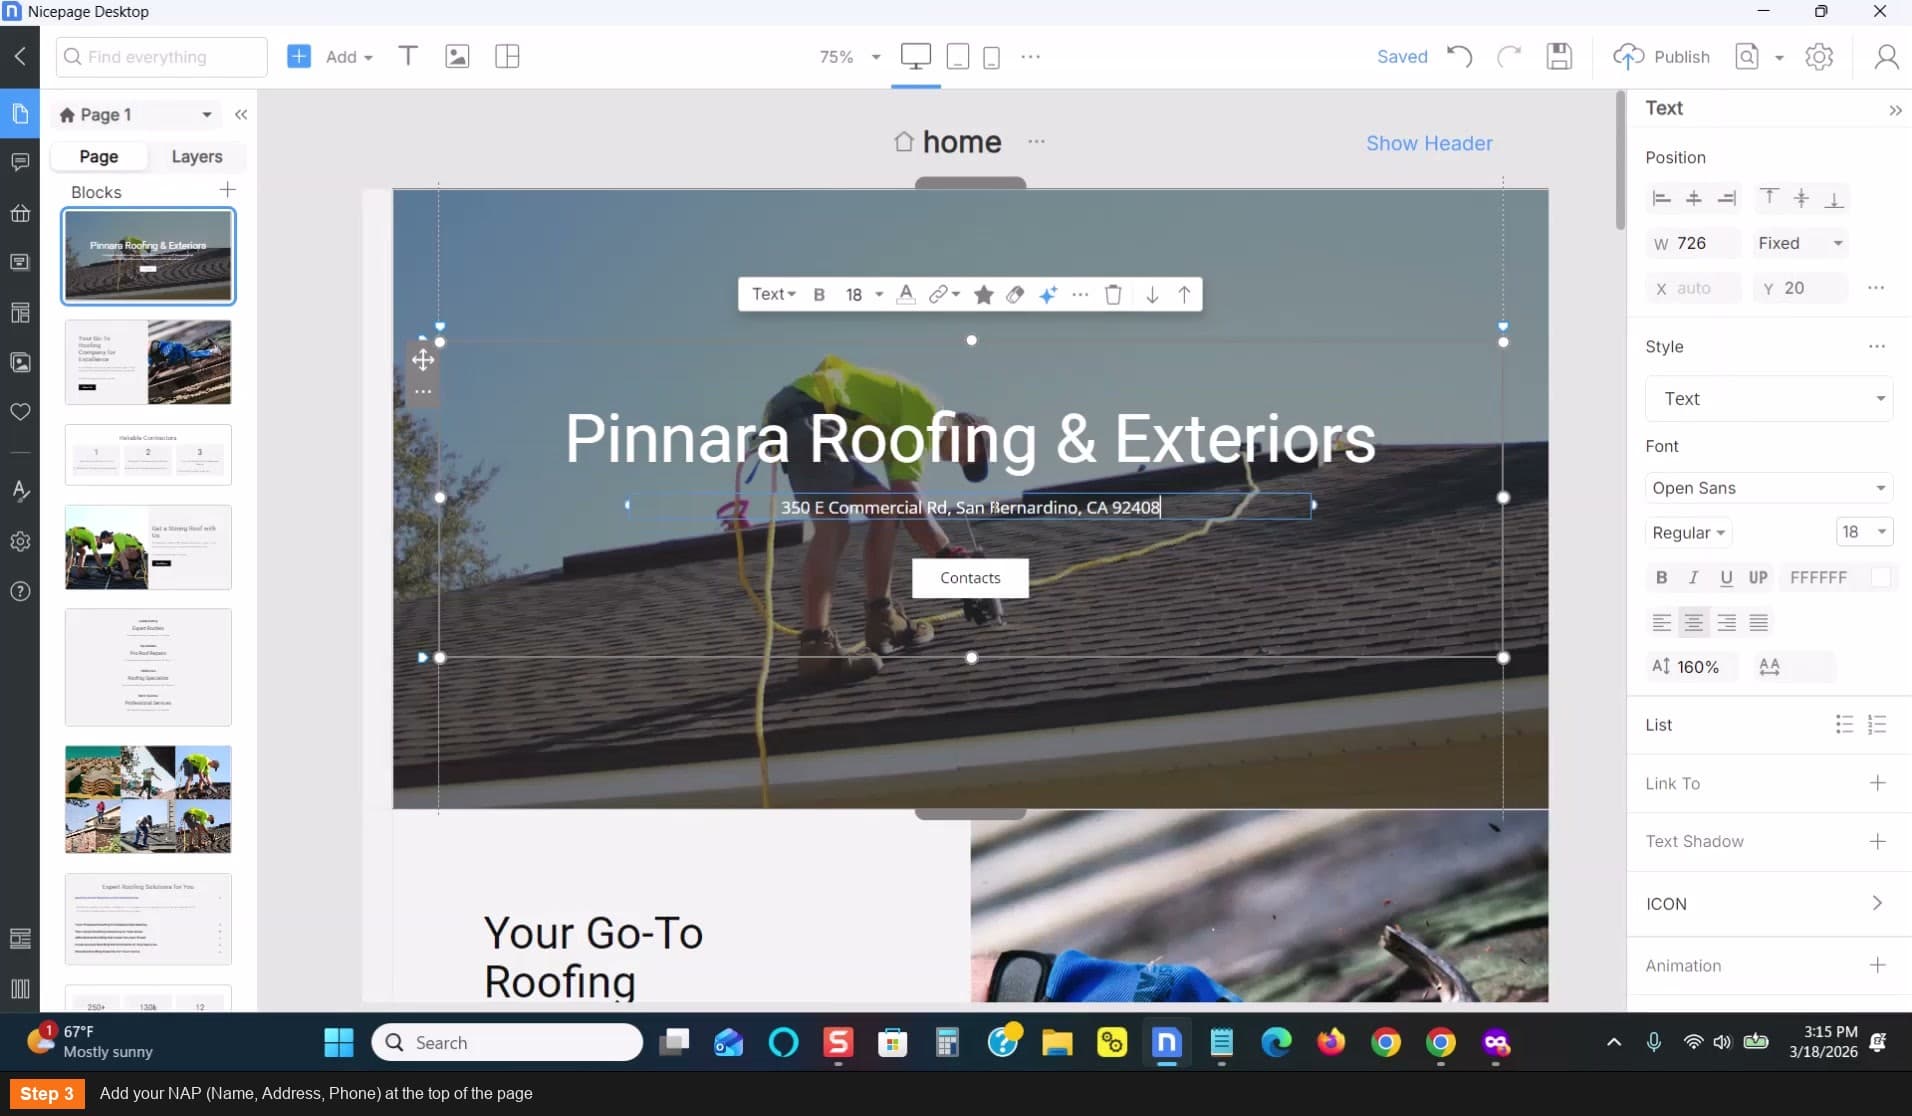
Add your NAP (Name, Address, Phone) at the top
Set the title tag
Format: "Business Name — Category — City"
- Example: "Panara Roofing and Exteriors — Roofing Contractor — San Bernardino"
- Click Done when set
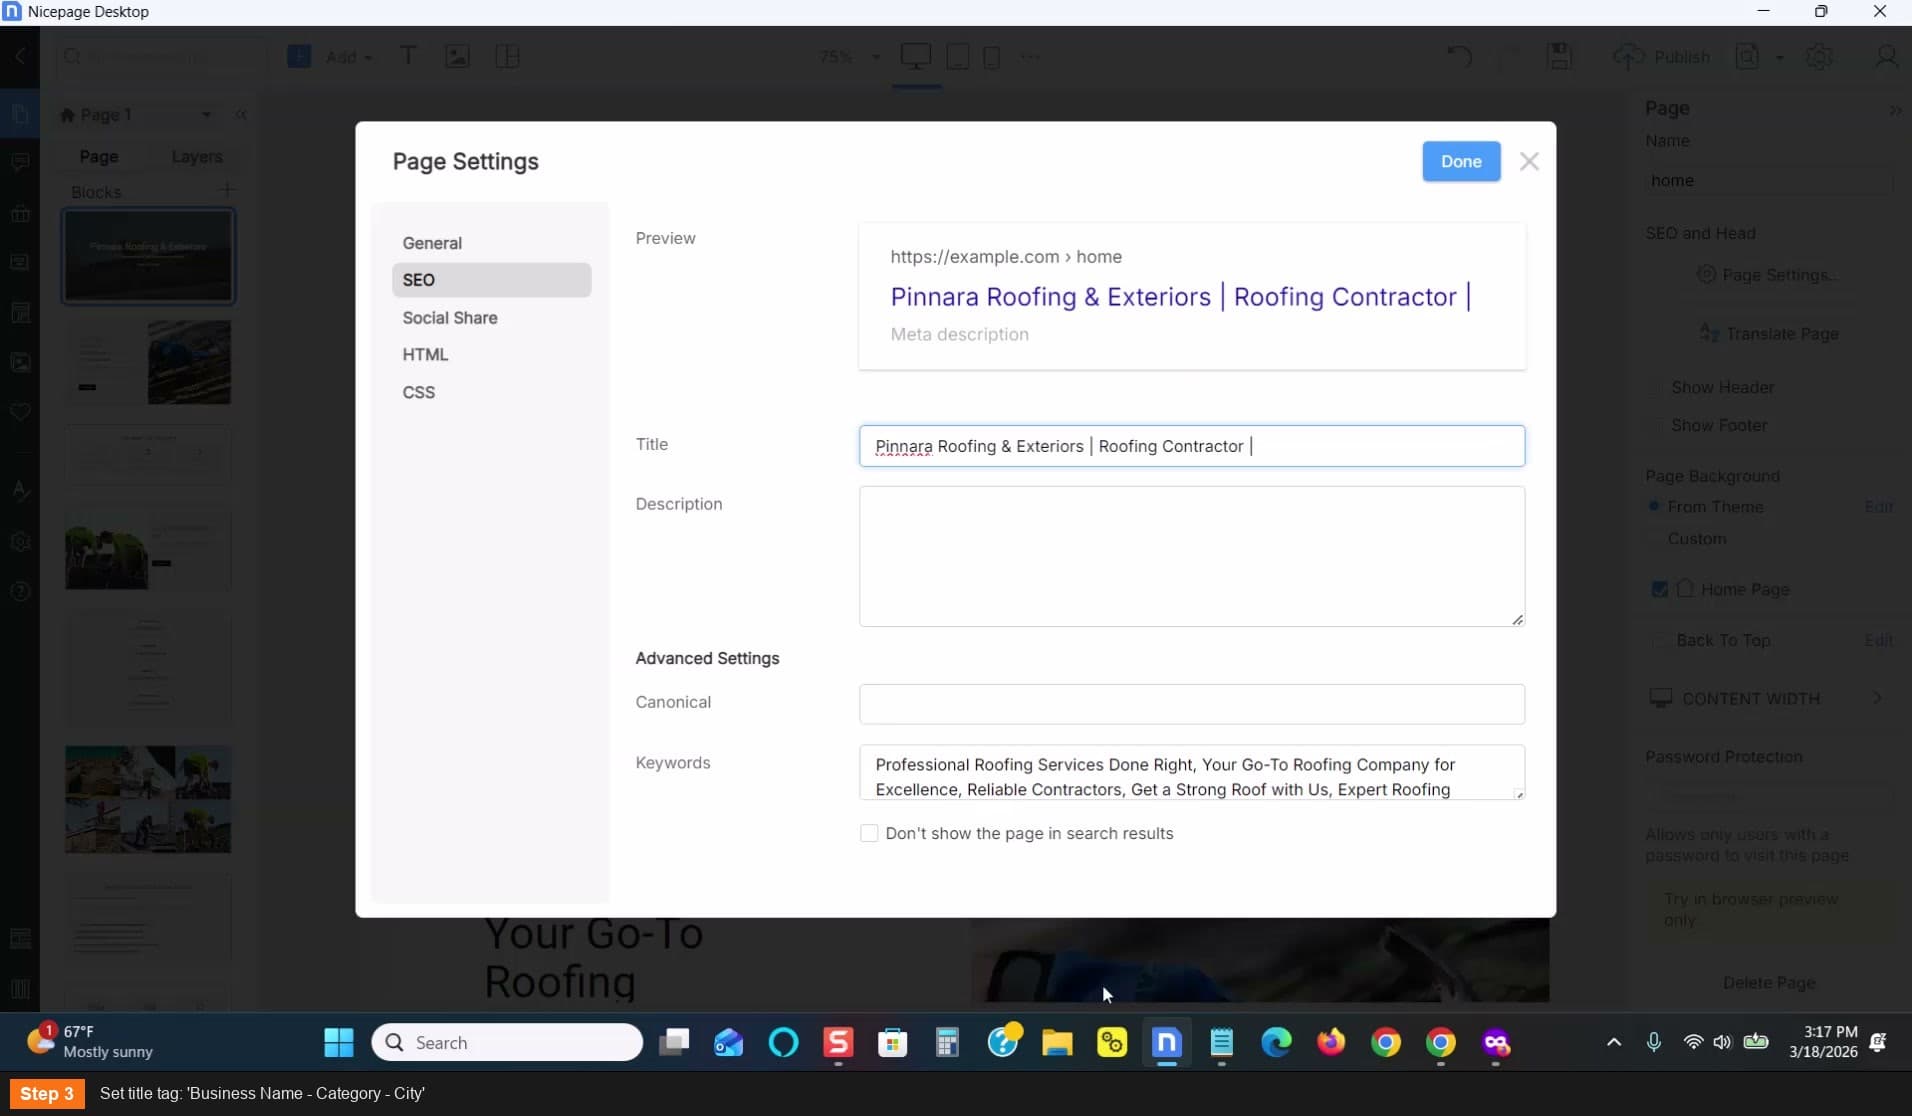
Set title tag: Business Name - Category - City
Export the site as HTML
- Click Publish — HTML
- Uncheck "Include Blog Posts"
- Set export path (Desktop > NicePage folder)
- Click Export HTML
Go to Publish > HTML > Export HTML
Upload files to your hosting
In SiteGround: go to File Manager — click Public folder
- Clear any existing default files in the Public folder
- Drag and drop your exported HTML files into File Manager
- Wait for upload to complete
Go to SiteGround File Manager > Public folder
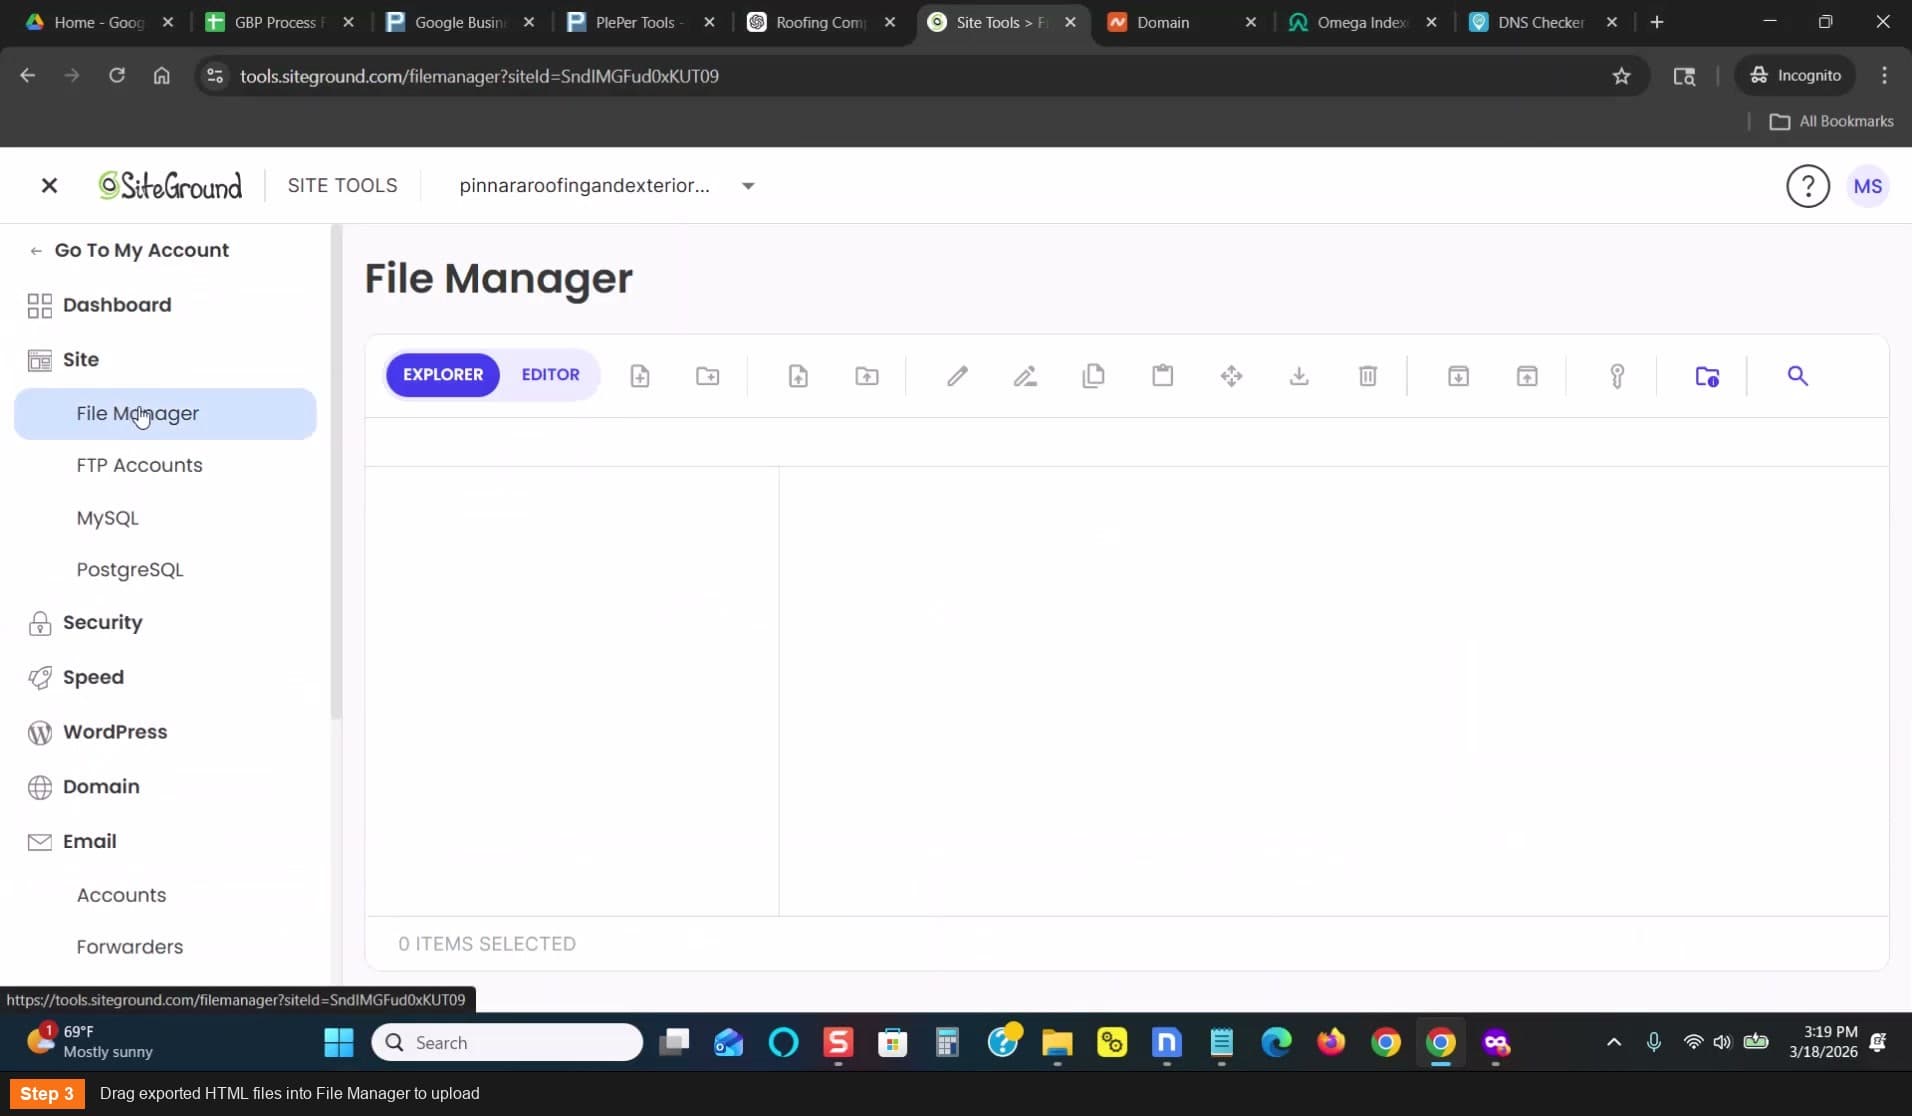
Drag exported HTML files into File Manager
Once you build one template, reuse it for every listing — just swap the NAP at the top
If you use WordPress or another builder, that works too — NicePage is just the quickest option